Magnolia Bakery’s Famous Banana Pudding
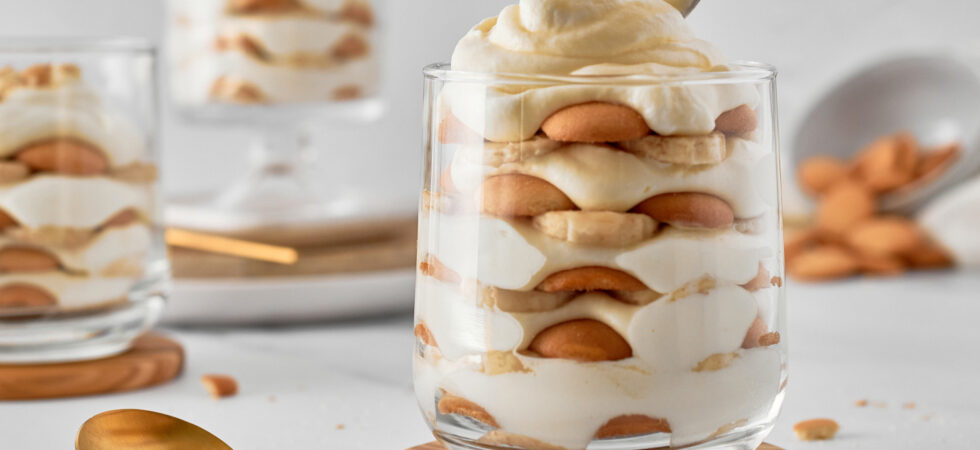
I am not exaggerating when I say that my family requests Magnolia Bakery’s famous banana pudding (or trifle for everyone outside of the Southern U.S.) recipe for EVERY get together. Relatives will literally look to my hands to make sure I have the banana pudding before saying hello 😂. “Umm…Eyes up here please!”
The world-famous Magnolia Bakery recipe from their cookbook is all over the internet, with good reason; It’s light and airy and has just the right amount of sweetness.
What do you say? Are you ready to be “the favorite” at the next family gathering you attend?
Get the Recipe: Banana Pudding (Trifle)
Ingredients
- 1½ cups ice cold water
- 1, 3.4 oz package of instant vanilla pudding mix
- 1, 14 oz can sweetened condensed milk
- 3 cups heavy cream
- 1, 11 oz box of mini nilla wafers
- 3-4 slightly under ripe bananas, sliced between 1/16 – 1/8in (.16 -.3cm)
Equipment
- whisk, handmixer, or stand mixer
- medium mixing bowl
- large mixing bowl
- spatula
- cutting board
- knife
- serving dish or glasses (see notes)
Instructions
- In medium sized bowl, whisk together the sweetened condensed milk and ice water until well combined. Then, add the pudding mix and stir until you no longer see any yellow spots from the powder. Cover and refrigerate for a minimum of 4 hours, preferably overnight.
- After the pudding is set, whip the heavy cream in a stand mixer on low. When it begins to thicken, turn up the speed until stiff peaks form.
- Once you have pointy peaks that don’t fall over, take the bowl from the stand and use a spatula to gently fold about a third of the vanilla pudding at a time into the whipped cream. When no streaks of pudding are left the, now, vanilla cream will be a uniform pale yellow. Set aside.
- Next, slice your bananas thinly and open the box of nilla wafers. Save some nilla wafers for garnish at the end before you start assembling.
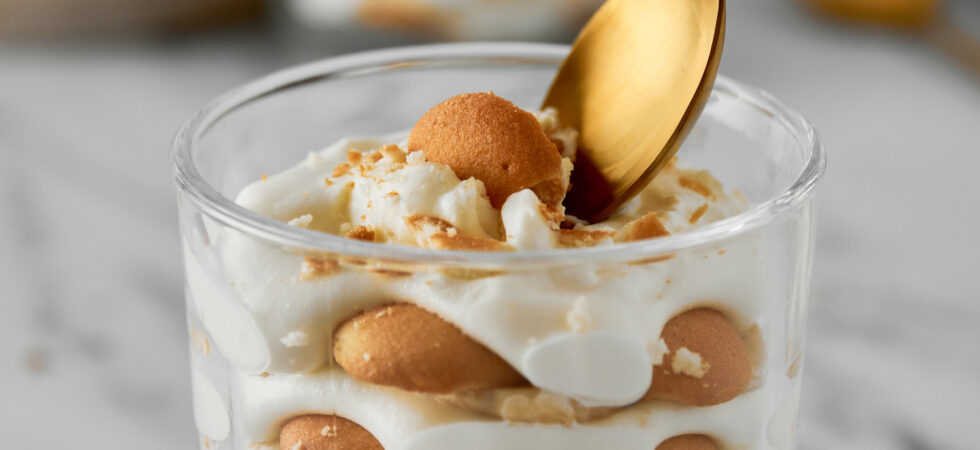
- Assemble by first spreading out vanilla cream mixture on the bottom of your container. Then cover it with a layer of banana slices and top the banana with a layer of wafers. Make sure each ingredient row is spread evenly with little-to-no overlap.
- Repeat this step as many times as you can without running out of an ingredient or space in your container(s).
- Depending on your level of OCD, finish the top with either some well-placed or artfully-crumbled wafers.
- Cover tightly and allow to chill in the fridge before serving.
Notes
- Splitting up the recipe can be rough if you are trying to have perfect identical servings. This recipe basically makes enough for a large trifle bowl, a 9×13in (23x33cm) casserole dish, a round 2.5qt (2.3L) casserole dish, (10)8oz (1/2L) cups, or (20)4oz (1/4L) cups. Stay flexible, my type-A people. It will all be fine.
- I always have leftover cream/pudding mixture. Save it to have with some fresh fruit another time. While the finished pudding (trifle) will only last for about a day (banana problems am I right!?), the cream mixture by itself lasts about 2 weeks in the refrigerator.
- The sweet spot to serve your banana pudding with still crunchy nilla wafers is between 1-2 hours after construction. After that they will soften like the cookies in a tiramisu. Still delicious, IMO, but you lose the textural interest.
Nutrition
Frequently Asked Questions
I’ve done it again! The notes are longer than the recipe. 😂
Why at least 4 hours on the pudding? It is important for the pudding mixture to set, or it will make your final product watery. Bleeeeh…
The same reason as the first question and answer. If you do not whip the cream until it can stand straight up on its own structural integrity the resulting mixture, once you’ve adding in the pudding, will be runny. I’ve done this. It’s not pretty. LMAO. Still tastes good though.
“Just fold the cheese David!” Say it loud: USE A SPATULA AND FOLD IT IN. I’ve seen some recipes use a stand mixer on low instead of a spatula to mix the pudding and whipped cream. If you use a mixer, only add a spoonful of pudding at a time or you’ll knock the air out of the cream. I prefer folding by hand, because I can add more pudding at a time and still control how much air is in the resulting vanilla cream.
It’s just better when the bananas almost melt into the texture of the rest of the layers. With thin slices you’ll get all of the wonderful flavor without a hunk of banana and little else. Also, as bananas brown they get slimy. No one wants that texture in a pudding. Same reasoning for the mini nilla wafers, flavor and texture.
Speaking of browning banana slices…remember the slightly unripe banana (mostly yellow with some very slight green at the ends) request? Not only does this help with the banana oxidizing (turning brown), it also keeps the flavor fresh and light as the pudding sits.
If you want an added layer of protection, you can dunk the slices into a bowl of water with a splash of apple cider vinegar or lemon juice. Scoop them out after a minute, press them dry, and go on with your assembly. I’d only recommend this if you are using clear containers and the pudding will be sitting out for a while. I promise you won’t taste or smell the vinegar by the time you eat the pudding.
The beauty of a vanilla cream base means you can experiment with different types of fruit, cookies, and toppings. And, Magnolia Bakery absolutely does this. Click the link to see their site and get ideas. Psst…they also ship nationwide in the U.S.
Here are a few variation ideas to make at home:
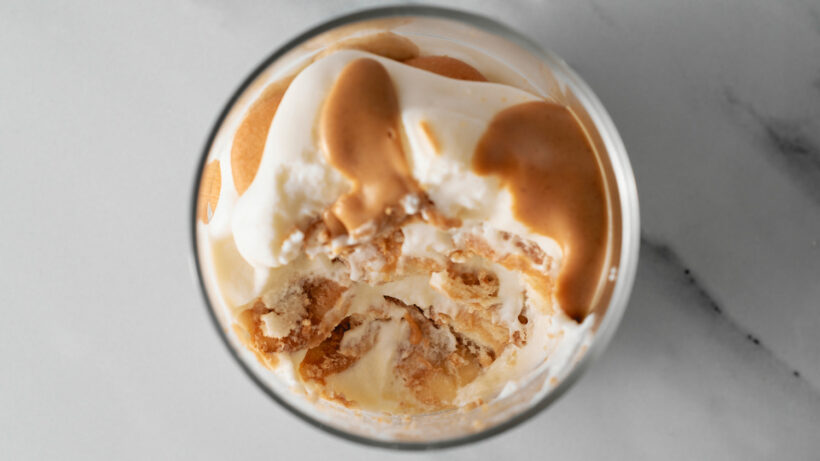
-Add a peanut butter drizzle (warmed in the microwave) to each layer. (my favorite version)
-Use sliced strawberries and oreos.
-Use sliced mango with macadamia nut cookies.
-Add lemon curd and substitute fresh blackberries and shortbread.
The sky’s the limit!

