Hot Cocoa Mix
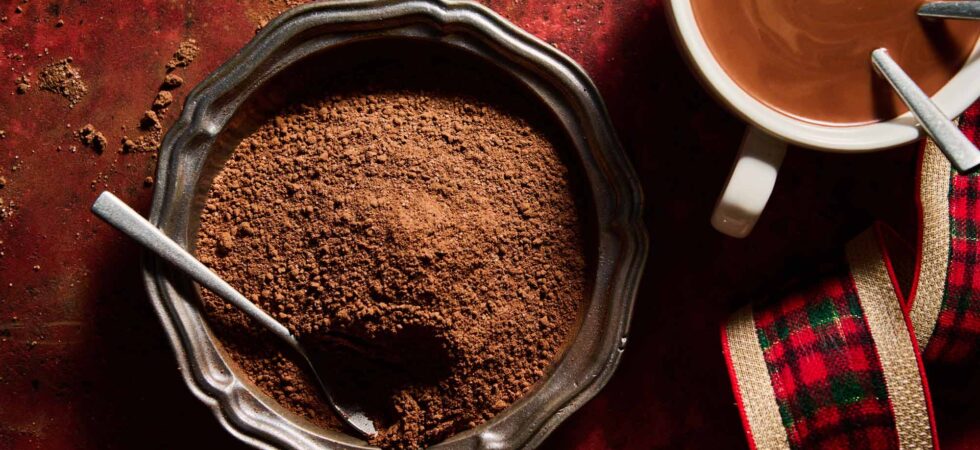
Boy, did I have fun experimenting with this hot cocoa mix recipe. I tested more than a few iterations, with varying amounts and kinds of milk powders, chocolates, sugars, cocoa powders, and extra mix-ins. In the end I settled on a combination of refined granulated sugar, Dutch Process cocoa powder, unsweetened chocolate, and blonde (toasted white) chocolate.
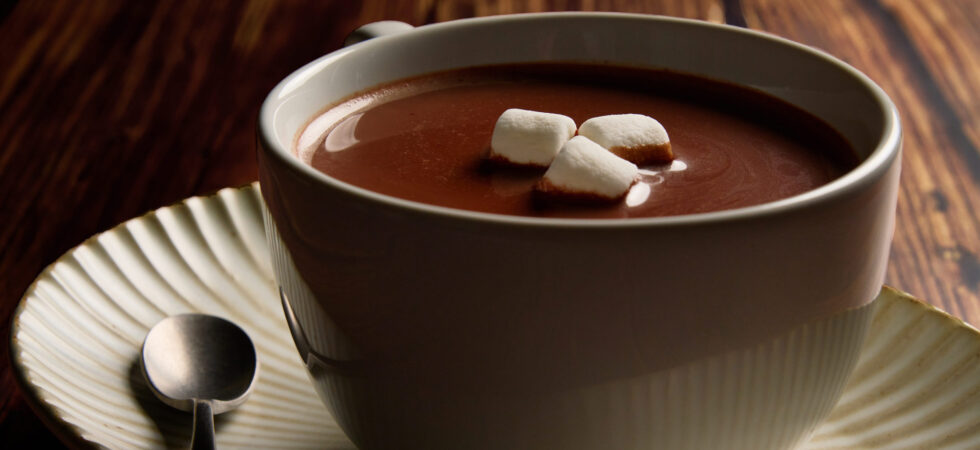
The resulting hot chocolate mix makes a decadent and deeply flavorful beverage. It’s perfect for cozy nights and lazy mornings. And it was a delicious experience I would gladly repeat again. In fact, I encourage you to use this recipe as a control in your own hot cocoa journey. (See FAQ for recipe testing notes.) The losing versions will still be delicious and you could end up with your perfect cup of cocoa. If that’s not a win-win, I don’t know what is!
Get the Recipe: Hot Cocoa Mix
Ingredients
Hot Cocoa Mix
- 4 oz 100% cacao, unsweetened chocolate
- 1.3 oz blonde (toasted white) chocolate , (e.g Valhrona Dulcey or Callebut Gold)
- ½ cup refined, granulated sugar
- ½ teaspoon Diamond Crystal kosher salt
- ½ cup Dutch-process, unsweetened cocoa powder
- 1 tablespoon cornstarch
- ½ teaspoon espresso powder
- ¼ teaspoon vanilla powder, (optional)
A Cup of Hot Cocoa
- 3 tablespoons hot cocoa mix
- 1 cup whole milk
Equipment
- cutting board
- chef knife
- measuring Cups
- Measuring spoons
- food processor
- kitchen scale optional
- Small Sauce Pot
- whisk or immersion blender
- digital food thermometer optional
Instructions
Hot Cocoa Mix:
- First, roughly chop up the unsweetened chocolate and blonde chocolate (so they can fit into your food processor) and add them to a small bowl. Place the bowl in the freezer for 10-15 minutes.
- While the chocolate is chilling, measure and add the other ingredients to a food processor. When ready, add the frozen chocolate pieces and blend everything into a powder for 1-2 minutes. There will still be tiny pieces of chocolate, but get them as small as you can within the 2 min.
- Pour the mix into an air-tight container and store at room temperature for up to 6 months.
A Cup of Hot Cocoa:
- okay, you’ve made the mix but if you want to make a cup of hot chocolate what do you do? This is just as easy!
- Pour 8oz of whole milk (or other percent or milk alternative) into a small sauce pot. Turn the burner to medium-low and bring the milk’s temperature up to between 145-165°F (63-74°C). You do not want the milk to boil or it will create a skin on top.
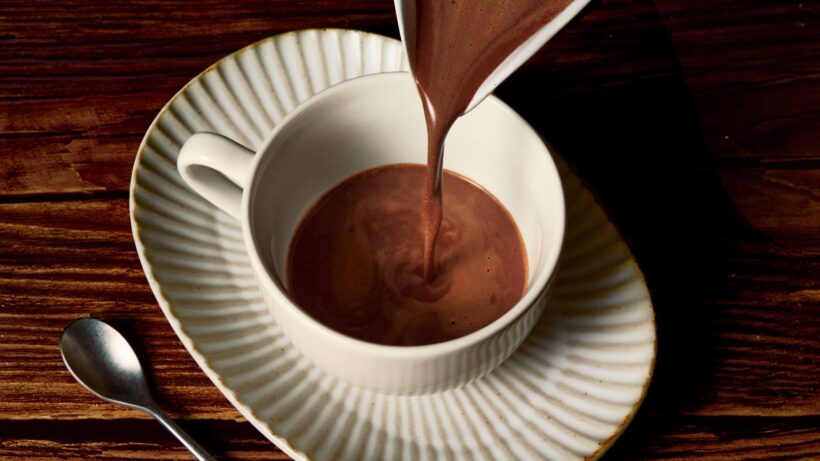
- Once the milk’s temperature is over 100°F (38°C) add in 3 tablespoons (28-30g) of hot cocoa mix. Let it sit for a minute (to allow the chocolate to melt a bit) before whisking. If you want perfectly blended hot chocolate that doesn’t separate or clump as it cools, use a stick (immersion) blender and not a whisk to incorporate the mix into the milk. Blend until you are happy with the temperature and incorporation of the cocoa mix. Pour and enjoy!
Notes
- Fair warning, blonde chocolate can get expensive if you want to purchase it pre-made (much like a lot of other pastry items). Don’t worry, there are instructions for turning white chocolate into blonde chocolate in the FAQ section. You can make an almost effortless batch in 1-2 hours for much less money.
- Feel free to customize and substitute hot cocoa mix ingredients to suit your tastes, as long as the ratios stay the same among the chocolate, cocoa powder, and sugar. (See FAQ for suggestions)
- The texture of this hot chocolate is between a thick drinking chocolate and pre-packaged, store-bought mix. Increase or decrease the amount of mix used to change the texture and strength of flavor.
- A stick blender is recommended to but optional when incorporating the mix into the milk. Use a whisk if you do not have an immersion blender.
- Tips for making hot chocolate dairy free are in the FAQs. But, if your cocoa liquid is thinner than whole milk, add an extra ½tsp (1.5g) of cornstarch to the mix.
Nutrition
Yes, with 2 notes of caution.
1. I am going to reiterate again, when heating your liquid for hot chocolate, don’t bring the temperature too high. Scalding (180°F or 82°C) or boiling (212°F or 100°C) milk options will change their texture and flavor.
As long as you keep your liquids under those temperatures, preferably in the range of 145-165°F (63-74°C) you shouldn’t have any problems heating up low-fat or dairy-free alternatives.
2. Almond milk with carrageenan (a common additive in store bought almond milks) can sometimes develop a slimy or separated texture when heated. Check the ingredients in your brand of almond milk. If it has carrageenan, see if there are any heating instructions to go with it. In theory, with heating temperatures so low, you should be fine, but I’d rather be safe than sorry and I’m guessing you would too.
Great options for milk alternatives without heating caveats are oat milk, coconut milk, and soy milk.
Yes, here is some important information to help you choose adequate substitutions:
Even if you are using a dairy free alternative in place of milk, dairy is an integral part of white chocolate and an allowed ingredient in chocolate (even 100% cacao, unsweetened chocolate bars). Check the ingredient list and fine print on your chocolates. Especially if you absolutely cannot have any milk and need this recipe to be 100% dairy free.
If you decide to use a dairy free white chocolate, make sure they use cocoa butter. A lot of companies producing vegan white chocolate products use palm oil and other fat alternatives. Pascha and Evolved are two vegan brands that contain cocoa butter.
Not only does cornstarch act as an anti-caking agent (to keep the chocolate pieces from sticking to each other) it also thickens the hot chocolate as it mixes and heats up on the stove! Dual purpose, who knew?!
If you plan to use a whole milk alternative that is thinner than the OG, add an additional 1/2tsp (1.5g) of cornstarch to the mix.
Technically, yes. But, I would really recommend sticking to coverture chocolate if flavor and texture are important to you. (I’m the first to admit I’m a snob when it comes to chocolate, so no shame here.)
Chocolate chips are generally made with more stabilizers and preservatives than their bar counterparts. While this helps them hold their shape for things like cookies, it often has a negative impact on taste. Chocolate chips also use less cocoa butter, which makes them less smooth when melted.
Honestly, morsels and chips are really just a convenience item. There are very few applications where it isn’t better to buy a quality chocolate and chop to your preferred size chips.
When in doubt, think about chocolate like this: regular chocolate chips < regular chocolate bar < couverture chocolate wafers*< coverture chocolate bars*.
*Note: couverture can only be applied to milk and dark chocolates since white chocolate has no cacao solids. For quality white chocolate, stick with options that contain over 31% cocoa butter.
Yay, new vocab! Coverture or couverture (European spelling) is a high quality chocolate that must contain 35% cacao, including at least 31% cocoa butter to have the label. In the U.S. chocolate can contain as little as 20% cocoa butter with the remaining fat content replaced by ingredients like palm oil or soybean oil.
In a lot of baking applications, where chocolate is mixed into a batter or dough, having this high a quality isn’t going to be as important. For recipes where chocolate is the main contributor of texture and/or flavor the extra spend will make a much better product. Think of recipes like ganache, frosting, custard, glaze, chocolate shells, and hot chocolate.
There are four areas for customization: chocolate, cocoa powder, sugar, and mix-ins.
Chocolate…
This recipe calls for 100% unsweetened chocolate (richness) and blonde chocolate (creaminess). To keep those adjectives but change it up a bit, you can freely switch out the blonde chocolate with white chocolate. The richness of flavor will lessen a bit without the caramelization, but the creaminess the white chocolate provides is very important to the final texture of the hot chocolate.
You can also change the 100% cacao chocolate to a sweeter option. I wouldn’t suggest milk chocolate (10-30% cacao) or semi-sweet chocolate (45-60%) because the granulated sugar plus the sugar in the chocolate could make your mix too sweet. I suggest trying one of two options. Use either half 100% cacao chocolate and half bittersweet chocolate (with a cacao percentage between 60-72% cacao) or use all bittersweet chocolate with a cacao percentage between 75-85%.
Cocoa powder…
Cocoa powder can be purchased in 3 forms: natural, Dutch-process, or black. Natural cocoa powder has a bright acidity and floral quality. The alkalization of natural cocoa powder creates Dutch-process cocoa. It mellows the cocoa’s acidity and deepens its flavor, creating a great middle ground between natural and black cocoa. Black cocoa powder is an ultra alkalized cocoa powder. It deepens the color and bitterness of the chocolate even further. I wouldn’t recommend black cocoa powder in this application, unless you are mixing both black and natural cocoas for their differing flavor profiles or using a sweeter chocolate as described above.
Sugar…
There are plenty of sugar options for a hot cocoa mix: Refined sugar; unrefined sugar; light brown sugar; dark brown sugar; and toasted sugar. I landed on refined granulated sugar for its clean neutral flavor and easier melting. If you use unrefined sugar, the granules will take a bit longer to melt and there will be a subtle molasses flavor, but it would also be a fantastic option.
There is enough powder in this recipe that you can use light or dark sugar, but be aware that the molasses content will be stronger in these cases. The additional flavor will detract from the richness of the dark chocolate and mellow it out a but. But, that could be exactly what you like!
Lastly, toasted sugar was an absolute delight, but the flavor to amount of work needed to make it wasn’t worth it to me. If you heat sugar granules gently enough they will undergo thermal decomposition and caramelize (toast) without melting, because these reactions are mutually exclusive from each other. Toasted sugar gives the cocoa mix a lovely and subtle caramel flavor. Bonus: because it’s already begun breaking down, it melts better than even refined sugar. I’ll give directions to make toasted sugar in another FAQ if you want to try your hands at it!
Mix-ins…
There are a million options to play with here. In this hot cocoa recipe I use vanilla powder and espresso powder, but you could also use peanut butter powder, malted milk powder, or toasted milk powder… to name a few.
I did test with malted milk powder and toasted milk powder, but not peanut butter powder. (I was going for pure chocolatey goodness.) Malted milk powder, while delicious, gave the hot cocoa too tangy a flavor. I am all for malted milkshakes, but in hot cocoa it was not my favorite. In small quantities, the toasted milk powder (brown butter flavoring) was too subtle. In large quantities it gave the hot cocoa a cooked milk flavor. By the end, I abandoned milk products and decided to only use fresh milk to make a cup of hot chocolate.
Keep in mind, there are also mix-ins that can be added to the milk along with the hot cocoa mix. If you don’t mind an extra step, skip buying vanilla powder for the mix. Just add a few drops of pure vanilla extract to the pot when you make a fresh batch of hot cocoa. I’d also ask you to consider peppermint extract for a minty cup of cocoa.
And last, but not least, If you want to spike your hot chocolate, I’ve have delicious results with Irish whiskey, Irish cream, and peppermint schnapps.
Use my recipe or have some fun!
In case you were wondering, blonde chocolate is white chocolate that has been toasted in the oven until it caramelizes and turns a golden color. I know right?! “Where have you been all my life!”
You can acquire blonde chocolate for this recipe in one of two ways:
1. You can purchase it online from chocolate brands like Valrhona, Felchlin, Guittard, or Callebaut. Fair warning it can be expensive. But, it may be worth it if you don’t want to put in the time and effort of making blonde chocolate at home.
2. Or you can make it at home, check the next FAQ for instructions!
You betcha! You can make it at home by baking white chocolate on a silicone mat lined baking sheet. Be sure to use high-quality white chocolate that is at least 30% cacao butter.
Preheat your oven to 250°F (120°C). Chop up 2+ bars of high-quality white chocolate and spread it out on the tray. Bake for 15 minutes and remove from the oven. Spread and mix the chocolate around the tray with a spatula. Put the chocolate back in the oven and remove it every 10 minutes, to mix and spread again, for at least 1 hour and up to 2 hours. Stop when you are happy with the color and flavor. From there you can scrape the toasted chocolate into a bowl and then pour it into silicone molds or some other flexible container. If your vessel can’t bend, it will be very difficult to get the hardened chocolate out of it in one piece.
To be clear: The above instructions are not tempering, just toasting. I didn’t see the point in tempering chocolate for this recipe because it isn’t going to be seen.
To temper the chocolate, let it cool on the silicone baking sheet and re-chop it. Then add about 1in (2.5cm) depth of water to a sauce pan and place a heat safe bowl over the top of the pan. Turn the burner to medium/med-low so the water begins to simmer (NOT boil) and heat the bowl. Add 3/4 of the blonde chocolate to the bowl and begin stirring with a spatula when it begins to melt. Do not stop stirring! Heat the melted blonde chocolate to 108°F (42°C) and remove it from the stove.
Next, add the remaining chocolate a little at a time, stirring until the temperature comes down to between 82-86°F (28-30°C). You’ll need to keep the chocolate within this range for the entire duration of your work or you will have to start over. Reheat with your double boiler and spatula a few seconds at a time. Be careful not to let it get too hot!
You can test your temper by putting a knife tip into the chocolate and leaving it out harden. It should be fully hard within 5 minutes and have a glossy finish. If not, let cool and repeat the process all over.

